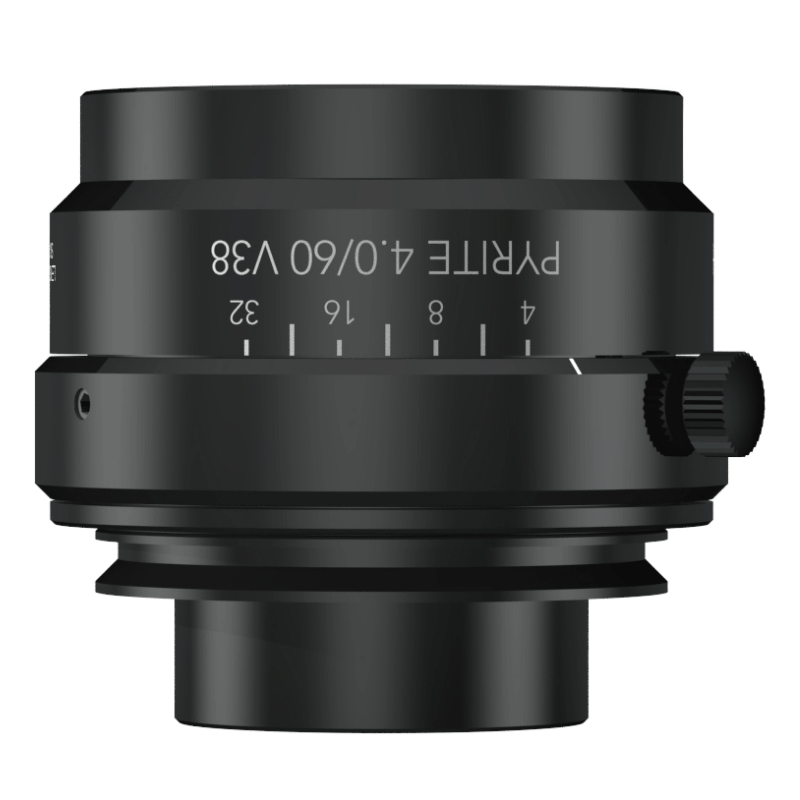
PYRITE 60 mm | F4.0
Automated Optical Inspection (AOI) is an important part of industrial manufacturing. Using cameras and image processing software, AOI systems automatically check the quality of the parts and products produced. The industry relies on advanced technologies such as 3D imaging to ensure one hundred percent quality. This technology enables manufacturers to detect and correct defects at an early stage before they lead to problems, thus increasing the quality and efficiency of production.

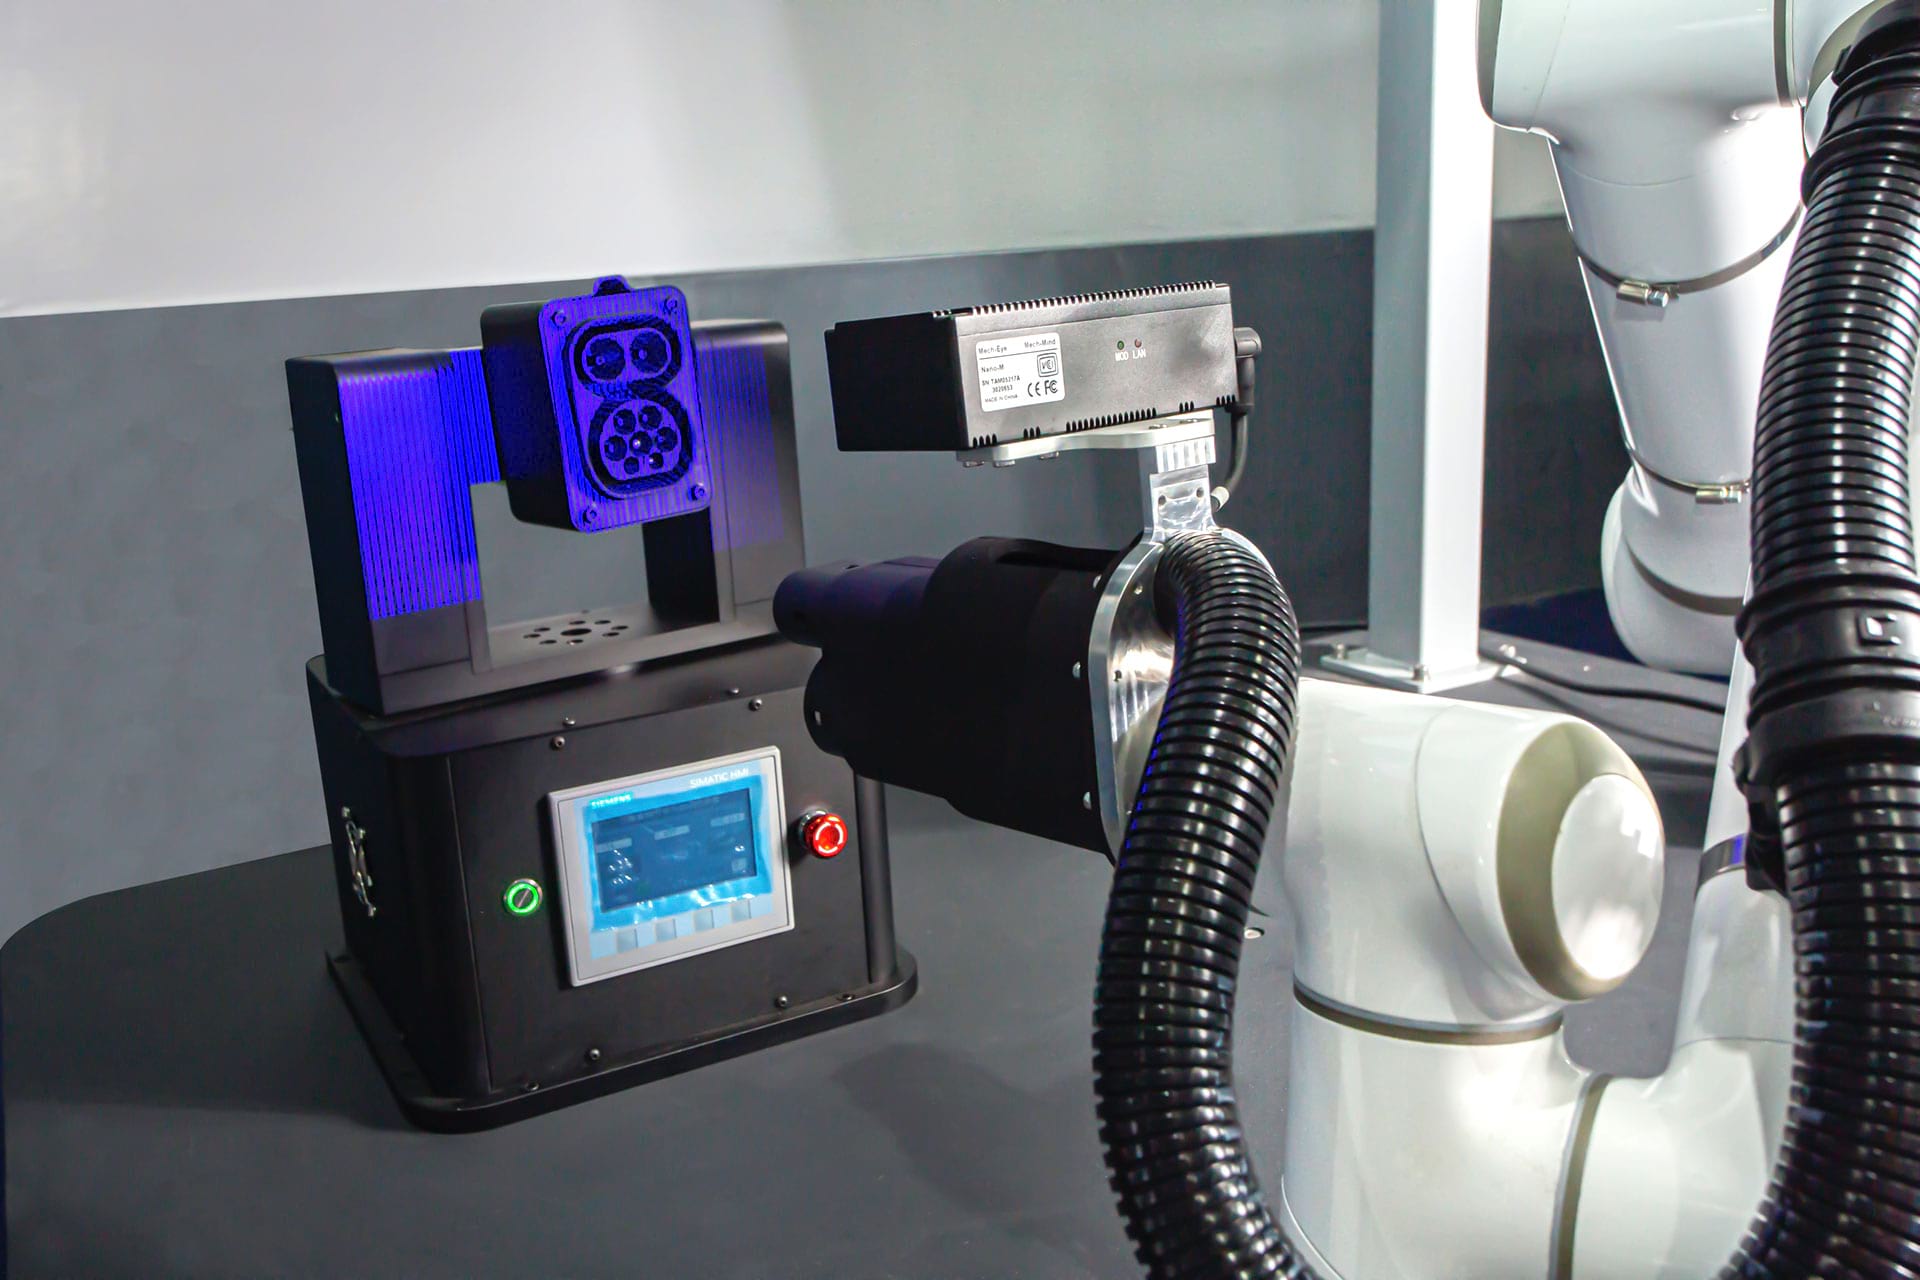
In 2D and 3D measurement technology, lenses are used to capture visual data from objects and convert it into precise measurement values for quality control or dimensional inspection.

Lenses can be used to analyze visual data from the web guide of printed and woven products.
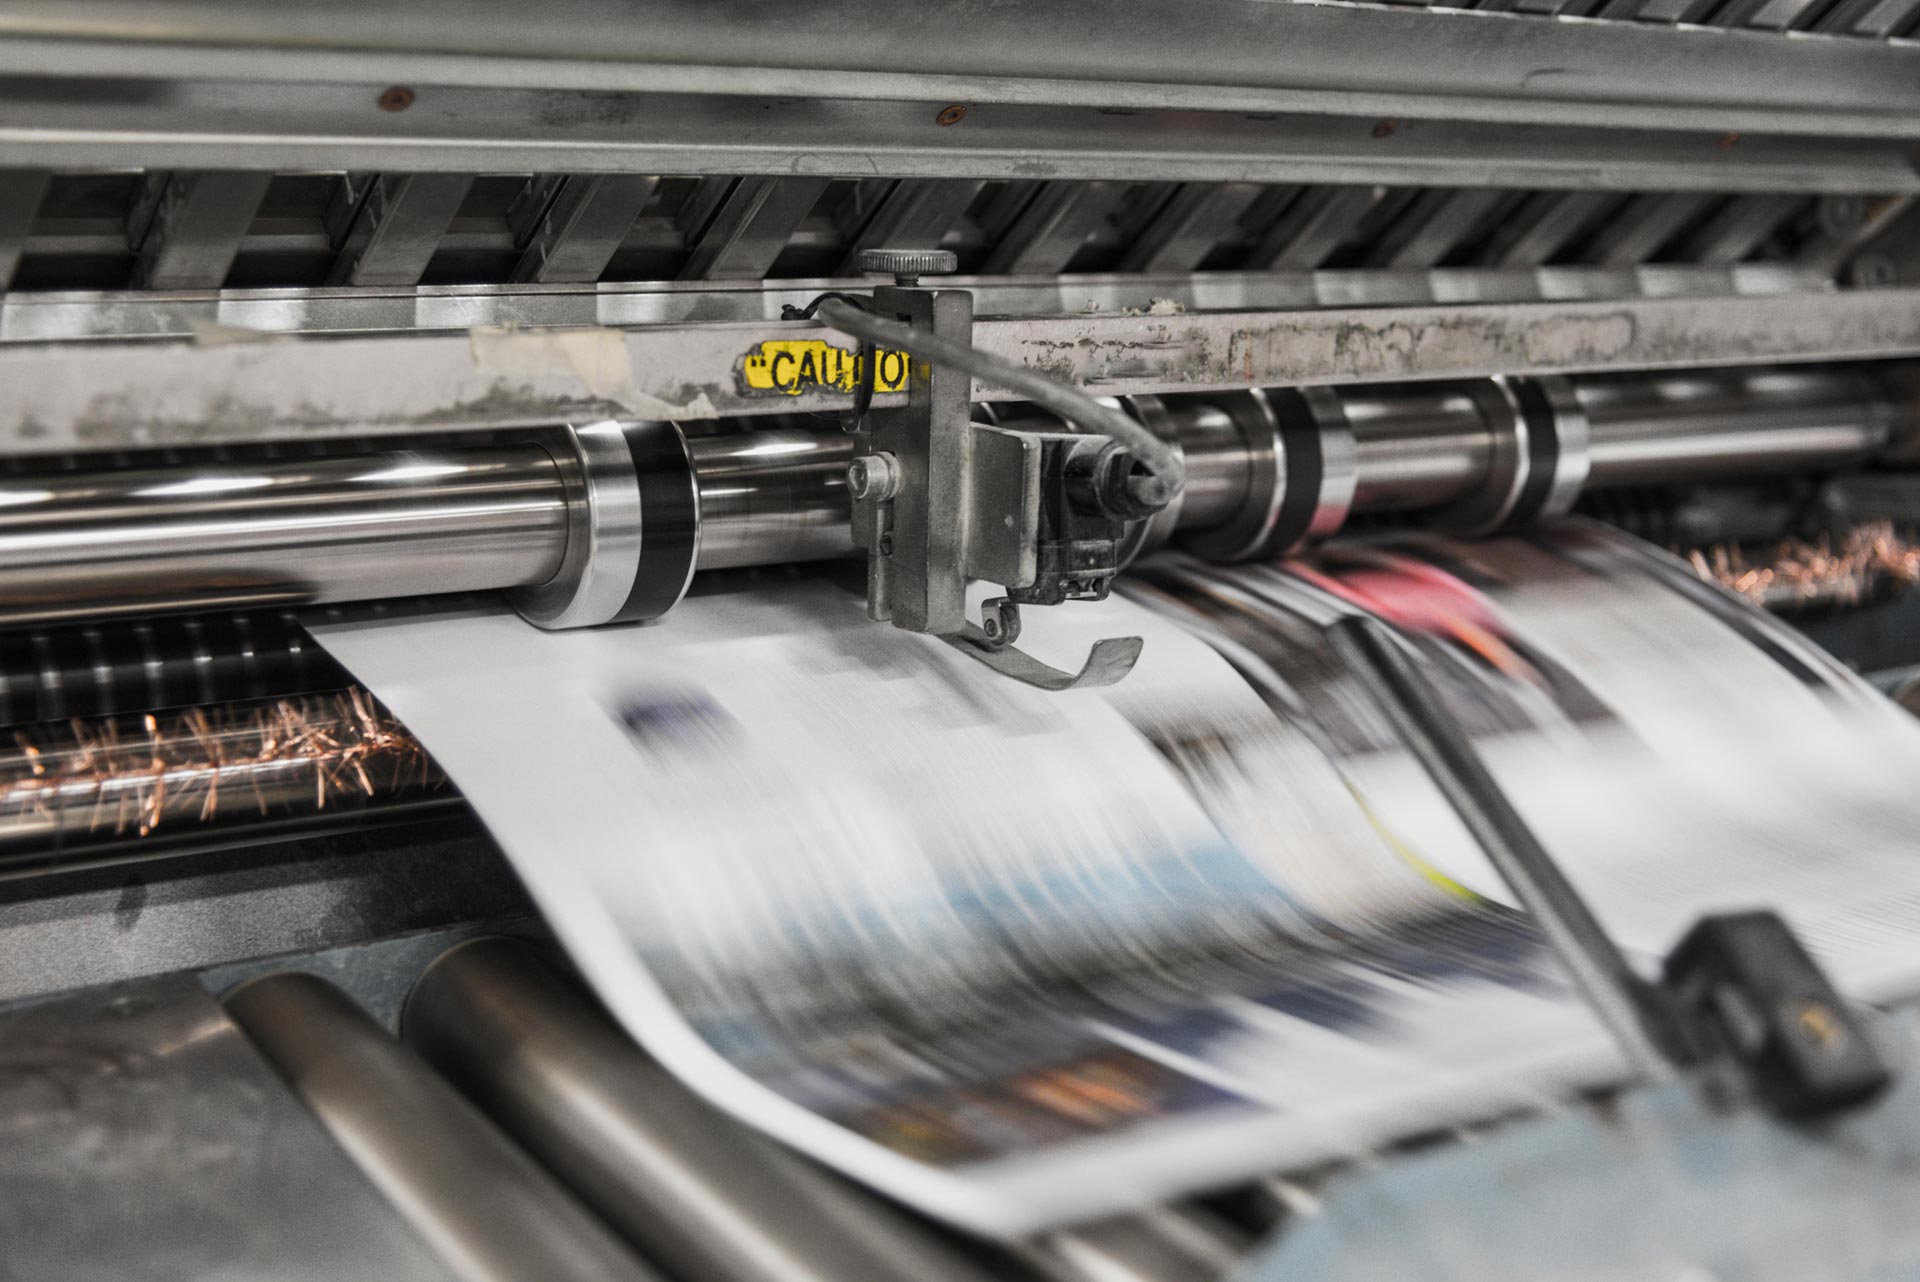
Lens families suitable for print inspection
Another application is banknote authentication. It allows banknotes and coins to be automatically checked for authenticity and integrity. These technologies use a variety of methods to determine the authenticity of currency. One method is optical characterization, which analyzes banknotes based on their color, texture, size, and other optical characteristics.
Fierce competition in the printing industry requires reliable inspection to optimize inline production processes and maintain quality standards. To be accurate, systems must be stable. Their components must be easy to adjust, calibrate and readjust. High web speeds are not uncommon in print finishing.
When inspecting print images, it is important to cover a large area. This is the only way to consistently capture all aspects of the print image. Print defects, register errors, streaks, and similar defects must be reliably detected to minimize waste. Color fidelity is crucial for good color management and reliable color matching with print samples.
Quality control of lenses for print inspection
PYRITE lenses play a key role in automatic print inspection. They detect a wide range of defects such as missing colors, incomplete print images, register errors, streaks, and similar defects. Even at high web speeds, the lens maintains its exceptional performance.
When used with large line sensors and to cover large image fields, PYRITE lenses provide good performance and precision. PYRITE lenses feature low distortion. Calibration, adjustment and readjustment are therefore simple and efficient. This feature is of great value in ensuring error-free printed products.
The excellent color fidelity of the lenses enables precise evaluation of printed products. This feature is critical for accurate color and detail reproduction and consistent quality. PYRITE lenses are ideal for inline measurement.

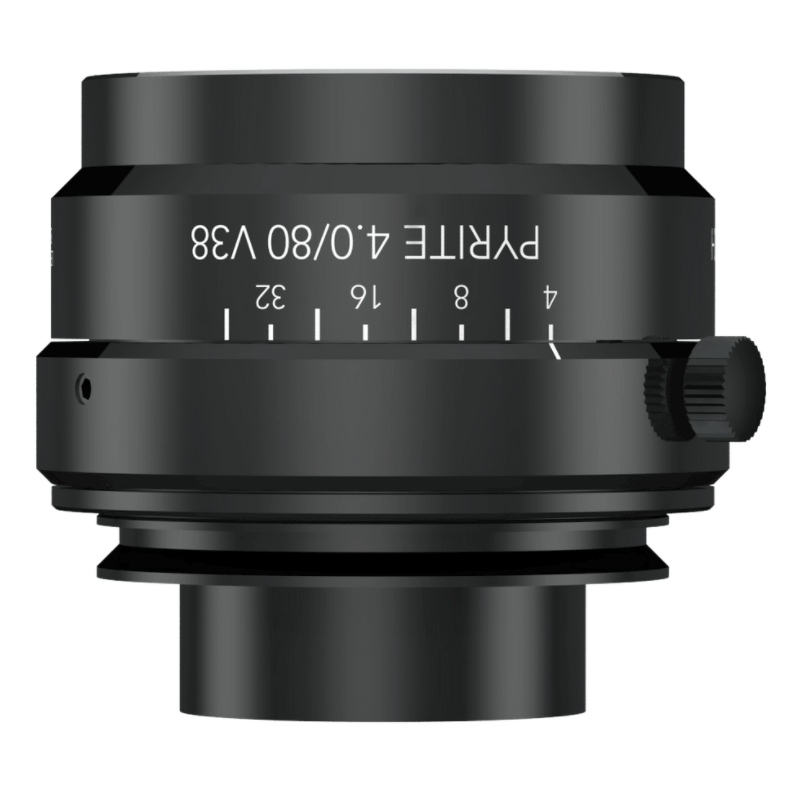
Lens benefits at a glance:
Lens families and filters suitable for 2D & 3D metrology
2D metrology Applications
Lenses play a critical role in quality control in the automotive industry, ensuring optimum image quality and enabling high-precision measurement of parts such as body panels, engine parts and components. Lenses with special characteristics such as high resolution and low distortion are essential for obtaining accurate measurement data. At the same time, surface inspection in the electronics industry uses lenses that enable precise imaging of the fine structures on printed circuit boards and microchips to efficiently detect defects such as cracks, breaks or faulty solder joints.
3D metrology applications
In reverse engineering, 3D lenses play a key role in capturing complex components or products with high accuracy and creating 3D models. Lenses with high depth of field and consistent image quality are critical to providing clear and detailed 3D data. In medical imaging, the precise capture of anatomical structures is of great importance. Lenses with high resolution and low distortion are used to create high-quality 3D models of body parts and organs.
In both applications, 2D and 3D metrology, specialized lenses play a crucial role in ensuring precise measurements and high-quality measurement results. To help companies optimize their metrology solutions and achieve precise measurement results, Schneider-Kreuznach offers a wide range of high-quality lenses designed specifically for the requirements of 2D and 3D metrology.
2D and 3D metrology is an exciting field that involves the precise measurement and analysis of objects and surfaces. Our lenses play a critical role in enabling the acquisition of precise and detailed image data that serves as the basis for accurate measurements.
What is 2D metrology?
2D metrology uses high-quality cameras with lenses to capture two-dimensional images of products, components or surfaces. These images are then analyzed using sophisticated software algorithms to determine exact dimensions, distances and angles. This is especially important in quality control, production monitoring, and mechanical engineering, where accurate measurements are essential to ensure high standards and minimize errors.
What is 3D Metrology?
3D metrology adds an extra dimension and enables the three-dimensional capture of objects. It uses advanced 3D cameras and special lenses to create three-dimensional models. This technology is used in a variety of applications, such as quality control of molded parts, recording surface topographies, or in the automotive industry for precise measurement of components.

One area of application is the measurement of molded parts in the automotive industry
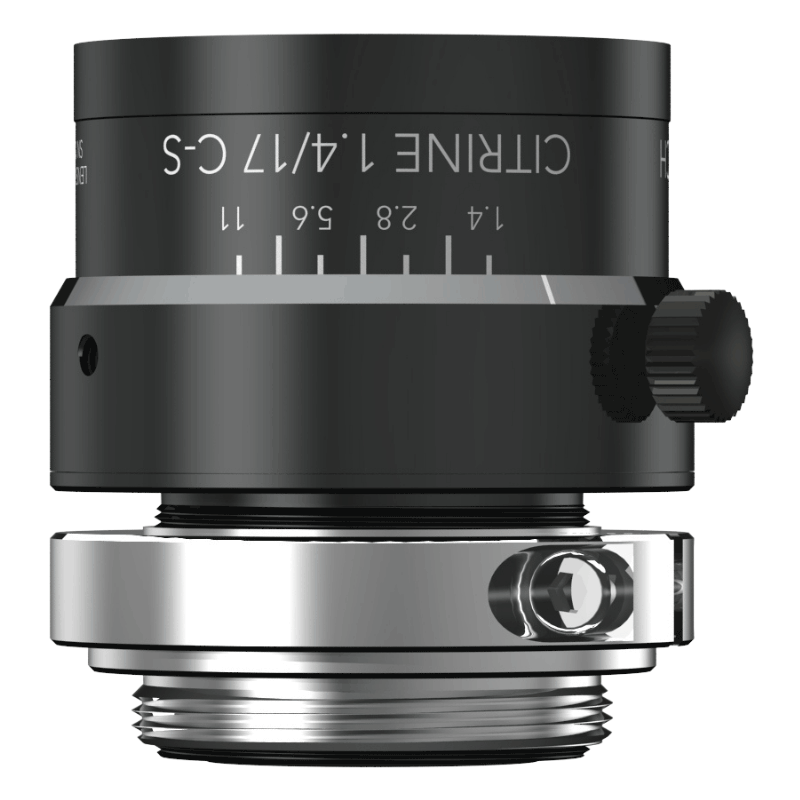
Precision is essential in metrology. The stabilized CITRINE F1.4/17mm C-S guarantees uniform distortion and a stable image position on the sensor.
The basis for precise measurements is an accurate image of reality. With the CITRINE F1.4/17mm C-S, distortion is reduced to a minimum, increasing measurement reliability. The lenses of the lens are fixed in position. Even when the robot moves, the lens position remains stable. This results in minimal image drift on the sensor. The image position shift is less than 1µ. This very low value underlines the ability of the lens to deliver consistent image quality even during dynamic measurements.
Once set, the CITRINE F1.4/17mm C-S lens retains its settings. This means less effort for recalibration and more efficiency in the measurement process. The rugged focusing and clamping design ensures that the lens will perform reliably even under the most demanding conditions.
Lens benefits at a glance:
Lens families and filters suitable for web inspection
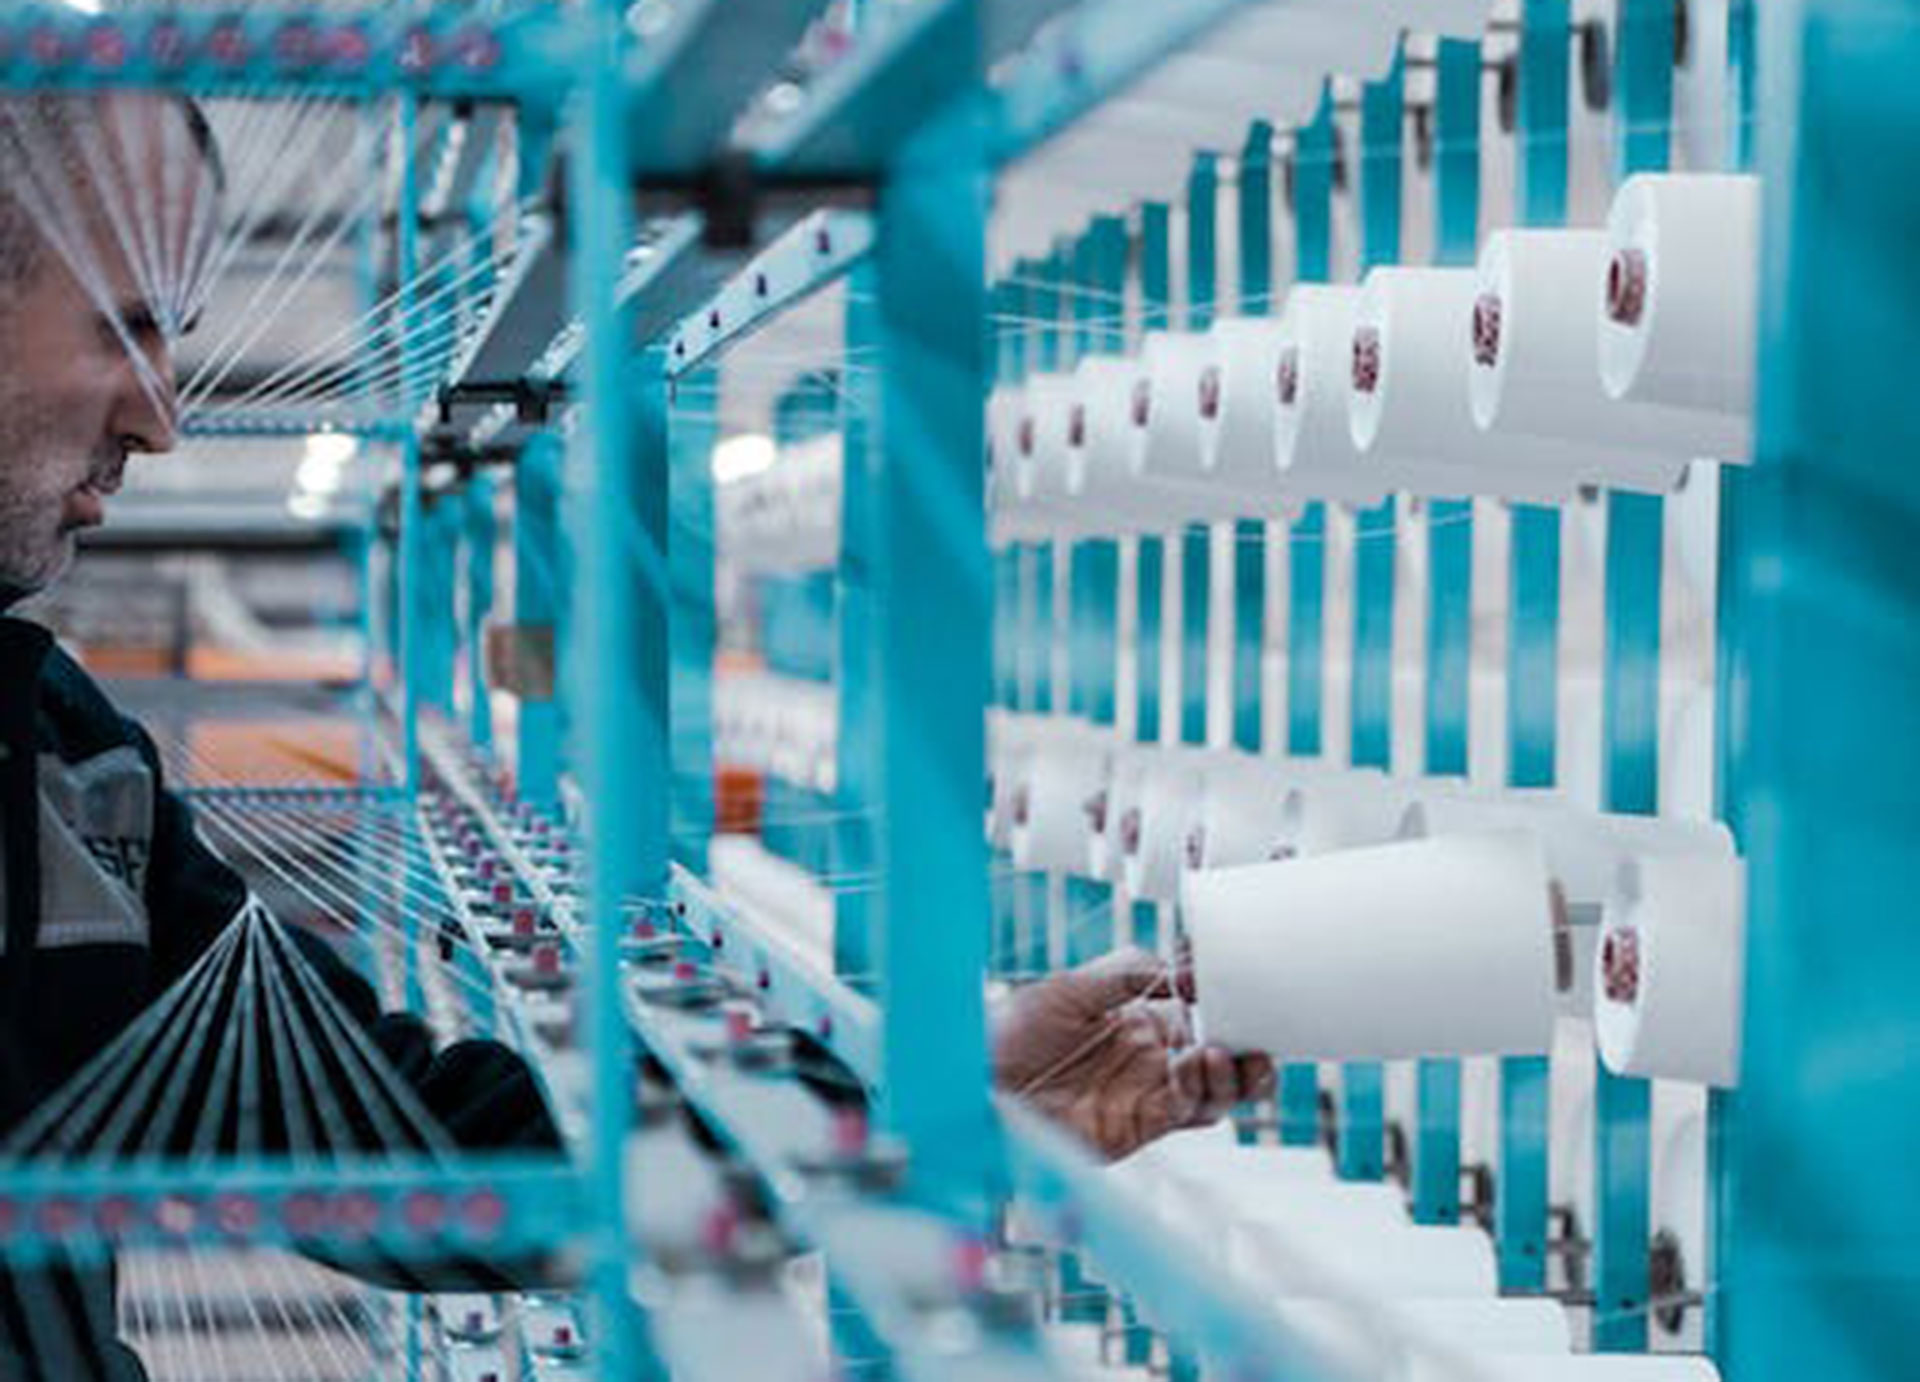
Our wide range of inspection lenses sets the standard for textile quality control. With precise optics and powerful image processing technology, our lenses capture and analyze precise textile details. From yarn to finished product, our solutions help manufacturers detect and correct irregularities, defects or quality variations early.
Accurate defect detection, minimal downtime:
The key component of our inspection lenses is their ability to accurately detect defects. When analyzing fibers, fabrics and finished products, our lenses detect deviations from specified standards. This allows manufacturers to take immediate corrective action and minimize downtime.
Efficient production processes:
Our lenses provide not only impeccable quality, but also efficiency gains. By integrating our optics into your production line, you can streamline operations and reduce time spent on manual inspections. The result is smoother production and increased productivity.